Last updated on June 5th, 2021
If you love decorating your home and have a creative streak, then this blog is meant just for you!

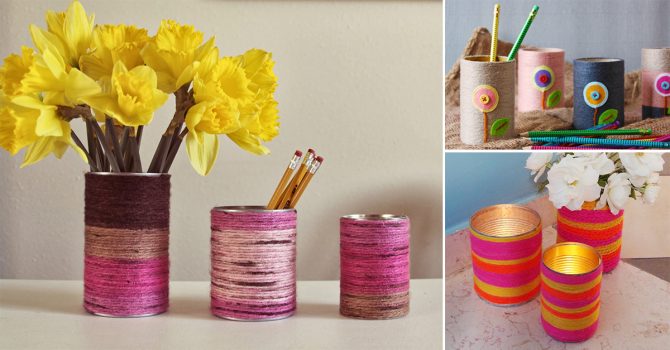
DIYs are a lot of fun, especially when you can put to use something that would have otherwise ended up in the trash! Here’s an amazing DIY yarn-wrapped vase that is extremely easy to make and doesn’t need a lot of things. And you don’t even have to be especially good at art and craft, to be able to make this. All this DIY needs are 2 simple steps and a few things easily available at home.
Here’s a list of what you need, to get started!
- A tin container
- Scissors
- Double-sided tape
- Yarn
Step 1:
Get all your things together in one place. Before getting started with the DIY, clean the tin container with the help of a clean cloth, to make sure it doesn’t have remains of whatever was inside it. Once it is clean, start wrapping the container with double-sided tape. Start at the top and keep covering it up until you have covered the entire can with the tape. Cut away any excess tape with the help of scissors and make sure the tape isn’t overlapping anywhere and covers the container evenly.

Step 2:
Once you are done covering the entire container with the tape, remove the top layer of the double-sided tape so that the surface of the container is all sticky. Now, start covering the container with yarn starting from the top, making sure it sticks to the container surface firmly. You can use as many colors as you want, to make a pattern that you desire. And your DIY yarn- wrapped vase is ready! You can embellish it with bows, colorful buttons or jewels (if you’d like) which you can stick on the yarn with synthetic adhesive.


